Ad Blocker Detected
Our website is made possible by displaying online advertisements to our visitors. Please consider supporting us by disabling your ad blocker.

Why & How To Divide Hostas In Late Fall
Why Fall Is Best To Divide & Transplant
Hostas can be cut back and divided at any point during their growing season, but there are significant advantages to doing this in the fall.
One major benefit is that, by fall, you can easily gauge the plant’s size. Dividing them in early spring leaves you uncertain about their mature dimensions, but by the end of summer, you can see exactly how much space they occupy.
Additionally, observing the plant’s growth in the fall simplifies the division process, as you can clearly identify where the stems are located instead of waiting for them to emerge from the soil in early spring.

Perhaps the greatest advantage of dividing and transplanting hostas in the fall is that it allows the new plants ample time to establish themselves and develop roots before winter arrives. They can do this comfortably in the cooler, less stressful temperatures that autumn provides.
This approach ensures that your hostas are well-prepared to grow right from the start in the spring!
How To Divide Hostas In Late Fall
The first step in dividing your hostas is to cut back the foliage. This is a practice you should implement every fall, regardless of whether you plan to divide the plants or not.
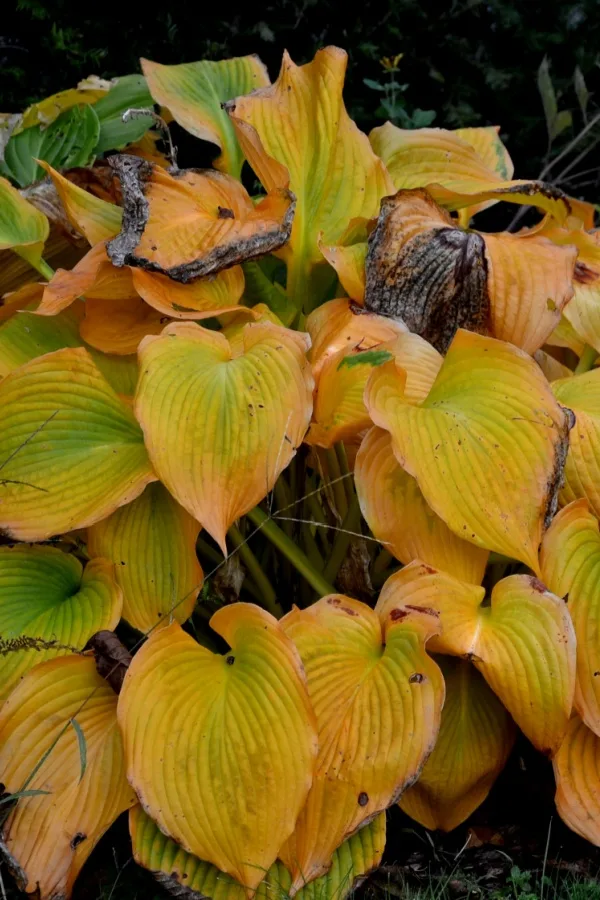
Removing dying and decaying leaves not only improves the appearance of your garden but also eliminates potential hiding spots for pests, mold, and disease to overwinter. If these issues are allowed to linger, they can wreak havoc on your plants come spring.
When preparing to divide hostas in the fall, cutting them back makes the process much easier. It allows you to clearly see the size of the plant’s root structure, simplifying the digging and dividing tasks.

To remove the foliage, use a pair of hedge trimmers or pruners to cut the leaves back to about two to three inches above the soil line. It’s important to leave a small portion of the stem intact, as this will help you easily identify where to plant your new divisions and make mulching easier.
As for the cut leaves and stems, they can be added to your compost pile, provided they are free of pests or disease. Once all the foliage has been removed, you’re ready to begin the dividing process.
Digging Up Hostas – How To Divide Hostas In Late Fall
The next step in dividing your hostas is to dig out the root clump. Use the remaining stems as a guide, and dig a few inches wider around the perimeter of the plant. Hostas have relatively shallow roots, so digging down about four to six inches all around should allow the plant to pop out of the soil quite easily.
If your plant is particularly large, you can dig it out in sections without worrying about causing damage. Hostas are incredibly tough and hardy plants. Once you have the root mass out of the ground, turn it upside down. This will give you a clearer view of the plant’s size and make the division process much easier.
Dividing & Transplanting – How To Divide Hostas In Late Fall
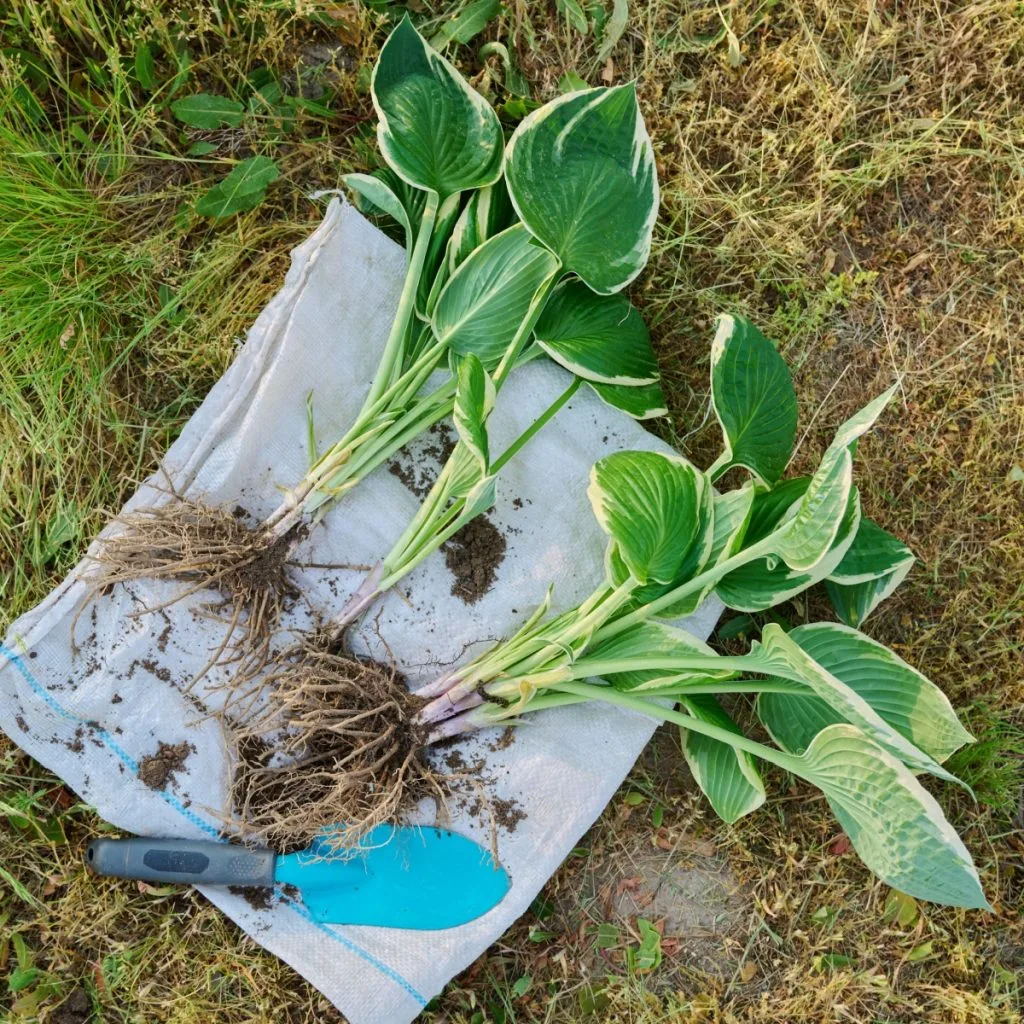
Now it’s time to cut the root clump into smaller divisions. The larger the cuttings you make, the bigger the plants will be next year. Use a sharp shovel or garden knife to slice through the root mass.
When cutting, try to keep each new division similar in size. This consistency will help the new plants grow to the same size in your flowerbeds next year. As a general guideline, three to five-inch sections will produce hostas with a 12 to 18-inch canopy the following year.
Once your hostas have been divided, it’s crucial to plant the new divisions as soon as possible. Quick planting not only prevents the roots from drying out but also gives the plants time to establish themselves before winter.
Create a planting hole that is about one and a half times the size of the division. Mix a few inches of compost into the bottom of the hole to provide essential nutrients for the new plant and to help loosen the soil for easier root growth.
Place the new division into the hole, ensuring that the crown of the roots is level with the ground. Backfill with soil and water well to secure the new hosta in place.


