Ad Blocker Detected
Our website is made possible by displaying online advertisements to our visitors. Please consider supporting us by disabling your ad blocker.
However, a common issue with hosta plants is maintaining the strength and vitality of their foliage throughout the season. When the large leaves start to decline, it can detract from the overall appearance of your flowerbeds.
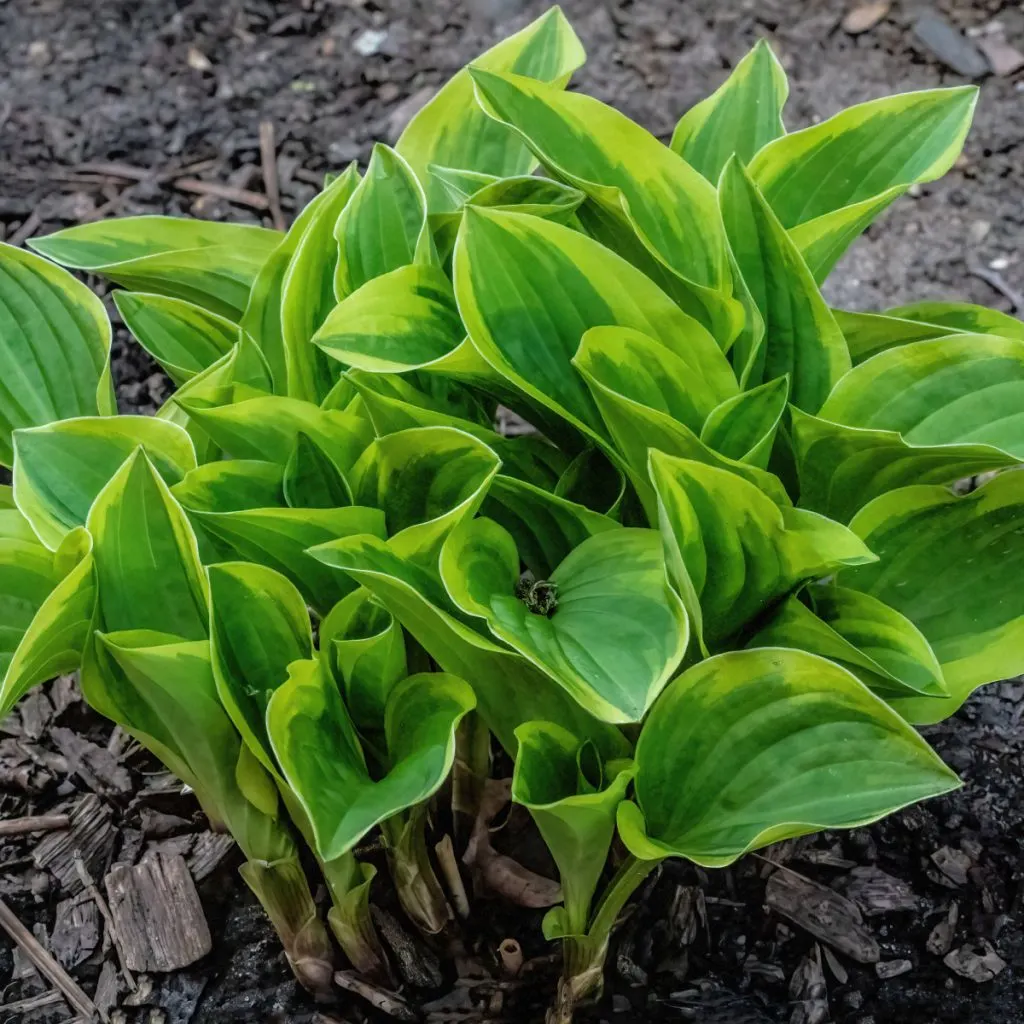
How To Fertilize & Care For Hostas In The Spring
Spring Hosta Maintenance
In addition to fertilizing, late winter or early spring is an opportune moment to tackle some essential pre-season maintenance tasks for your hostas. Undertaking these tasks before your hostas start sprouting can significantly contribute to their long-term health and vitality.
One of the initial chores is to remove any lingering dead foliage from the plants. Ideally, this should have been done in the fall, but if it was overlooked, now is the time to act. Simply pull off any decaying leaves and flower stems; often, clippers aren’t even required.
This practice not only paves the way for rapid new growth but also helps deter pests and diseases. The old foliage can serve as a refuge for pests to hide, lay eggs, and hatch larvae. Additionally, it provides a conducive environment for mold and mildew to develop in the cool, damp spring conditions.
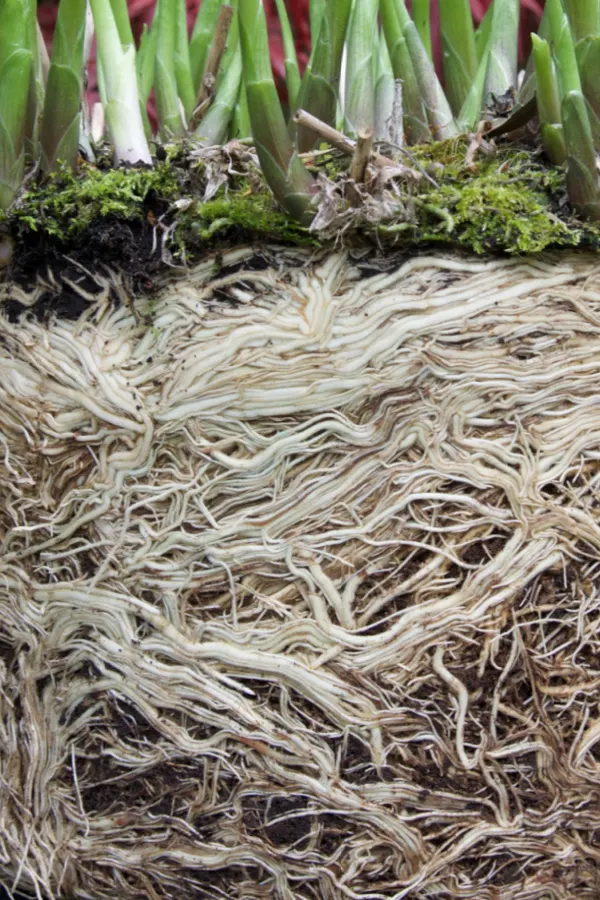
Dividing Overgrown Hostas – How To Fertilize Hostas In Spring
If your hostas have been in the ground for just a couple of years, you can proceed directly to the fertilizing section below. However, if they’ve occupied the same spot for five years or more, it’s probably time to divide them. This not only benefits your hostas but also gives you extra plants at no additional cost!
One common reason hostas weaken or struggle during the growing season is an overcrowded root system. When roots become densely packed, they intertwine and hinder the plant’s ability to absorb essential water and nutrients.
While overcrowded hostas may initially sprout vigorously and produce robust foliage in the early weeks, they often start to decline by late spring or early summer. Insufficient energy in the roots can result in struggling leaves and may even prevent the plant from blooming.
The good news is that dividing hostas in early spring is straightforward. Begin by digging a few inches around the perimeter of the hosta clump. Hosta roots are not deeply anchored, and they usually come out easily in the soft spring soil.
To divide the clump, turn the plant upside down to expose the root mass. Then, use a garden knife or sharp shovel to slice the clump into equal sections. The size of your new plants will depend on the portion you cut.
Now, it’s time to replant. Dig a hole slightly larger than the clump, add some compost to the bottom, and place the divided section in the hole. Fill with soil, ensuring the crown sits level with the ground. It’s that simple!
Hostas are resilient plants, and within a few weeks, new shoots will emerge. With the roots now having ample space to grow and access nutrients, it’s the perfect time to fertilize your hostas. This fertilizer will fuel robust growth throughout the spring, summer, and fall.
How To Fertilize Hostas In Spring
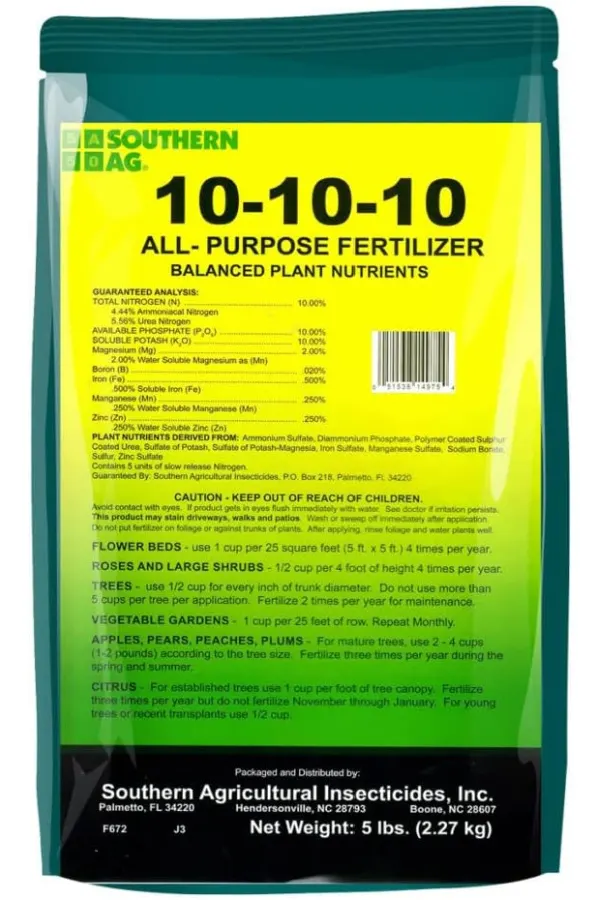
When selecting your all-purpose fertilizer, opt for one with a lower N-P-K ratio, ideally between 5-5-5 and 10-10-10. These formulations provide gentle, consistent nourishment without overwhelming your plants. Check out our article for more details:
Fertilizing is straightforward. Always wear gloves when handling any fertilizer. To apply, sprinkle approximately 1/4 cup around the base of each hosta. For larger hostas, use about 1/3 cup. Finish by watering the fertilizer to settle it in place; this also helps activate the nutrients.
