Ad Blocker Detected
Our website is made possible by displaying online advertisements to our visitors. Please consider supporting us by disabling your ad blocker.
Early spring is the perfect time for dividing daylilies! Not only does it help promote healthier growth, but it’s also a great way to gain additional plants for your landscape. And all for free!
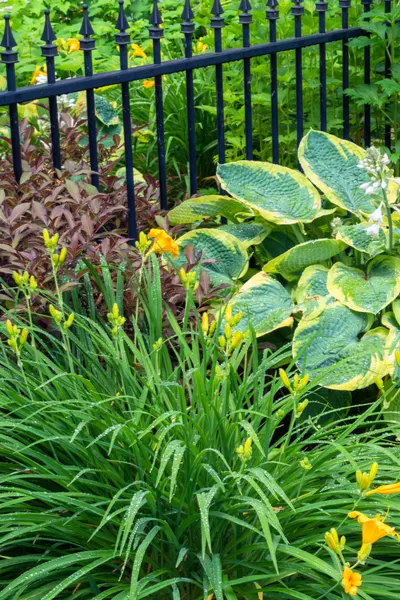
Daylilies are a great choice for the home landscape. They add a big burst of colorful blooms and foliage to flowerbeds and are extremely easy to maintain as well.
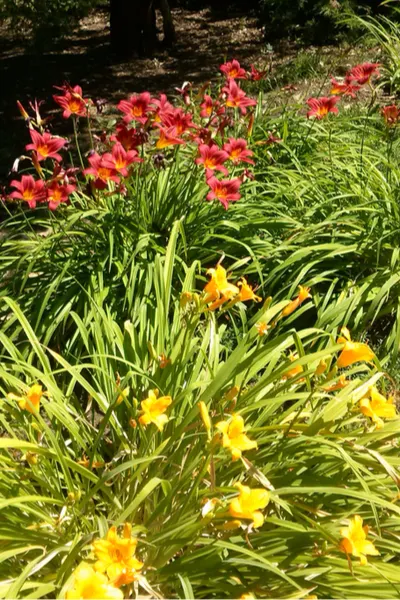
In fact, it’s truly hard to find a more low-maintenance perennial. Both drought resistant and tolerant of poor soil conditions, daylilies can be grown nearly anywhere.
Maintaining Daylilies In The Landscape
The only real maintenance needed for daylilies is an occasional division of the plant. Dividing daylilies every 3 to 5 years helps keep their foliage in check, and their blooms booming.
If allowed to grow too large, the roots and foliage begin to use all of the energy needed to produce blooms. The result is an overgrown plant that produces fewer and fewer blooms with each passing year.
But dividing daylilies in the spring is the perfect way to eliminate this issue. It also lets you create more plants in which to fill beds with more foliage, and far less mulch.
This just so happens to be the best way possible to keep your flowerbeds weed-free, and of course, save a lot of money on mulch!
The How To – Dividing Daylilies In The Spring
If you did not clear the spent foliage from plants in late fall, begin by removing it first. Although the decaying material can be cut off, in most cases it can simply be pulled away from the base.
Once removed, depending on the temperature, you may already see some new green growth. Daylilies are one of the first perennials to begin growing in early spring.
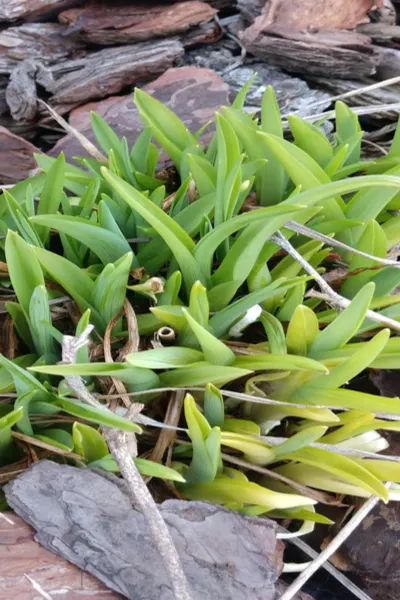
Once the foliage is cleared and the base of the plant is exposed, you are ready to start dividing.
Removing Plants From The Soil
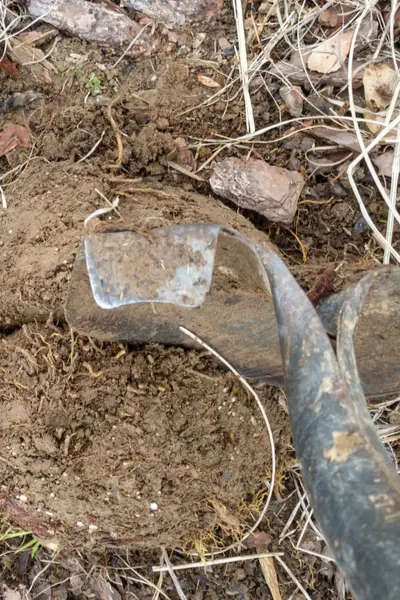
Begin by loosening the soil with a shovel a few inches behind the outer edge of the shoots coming from the crown. Don’t worry if you happen to sever a shoot or two in the process. Daylilies are extremely hardy and tough to kill, and a few injured shoots or roots will not kill them.
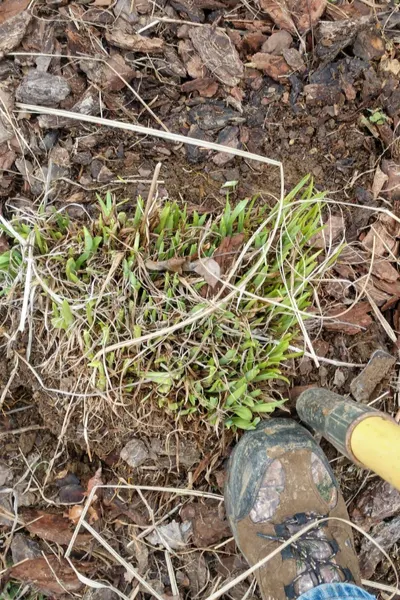
Next, using the shovel, dig down behind and pop the daylily out of the soil. If it happens to be extremely overgrown, you can remove the plant in sections. Again, it will not harm the plant’s health at all.
Dividing The Daylilies
Now that the plant is out of the soil, flip it over so you can see the shape and size of the root cluster.
Dividing is as simple as taking a shovel or an all-purpose garden knife and cutting sections from the root ball. The size of the new cutting directly determines the first year’s size of the new plant. Product Link: Hori Hori Garden Knife
In general, dividing new plants into 3″ x 3″ root sections will create a nice-sized plant that will be able to grow another 3 to 5 years without issue.