Ad Blocker Detected
Our website is made possible by displaying online advertisements to our visitors. Please consider supporting us by disabling your ad blocker.
Reviving and reusing old potting soil can lead to significant savings in your gardening expenses!
Giving A Second Life To Old Potting Soil
Towards the end of the season, the soil in container plants typically becomes parched, stiff, and crumbly. Moreover, it’s often intertwined with a network of roots. By late summer, most potted plants and containers are so densely packed with roots that they can easily slip out of their containers when turned over.
It’s true that by this point, most of the soil’s nutrients have been depleted. However, one thing remains certain – that aging soil still holds significant value. With a bit of effort, you can rejuvenate it.
To begin with, aged potting soil is lightweight and rich in organic matter. Additionally, the remnants of plant roots that have woven through it still retain a considerable amount of nutrients, especially once they decompose.
The secret to rescuing and reusing your old soil lies in replenishing its richness and fertility. Surprisingly, there are a couple of straightforward, speedy, and very budget-friendly methods to do just that!
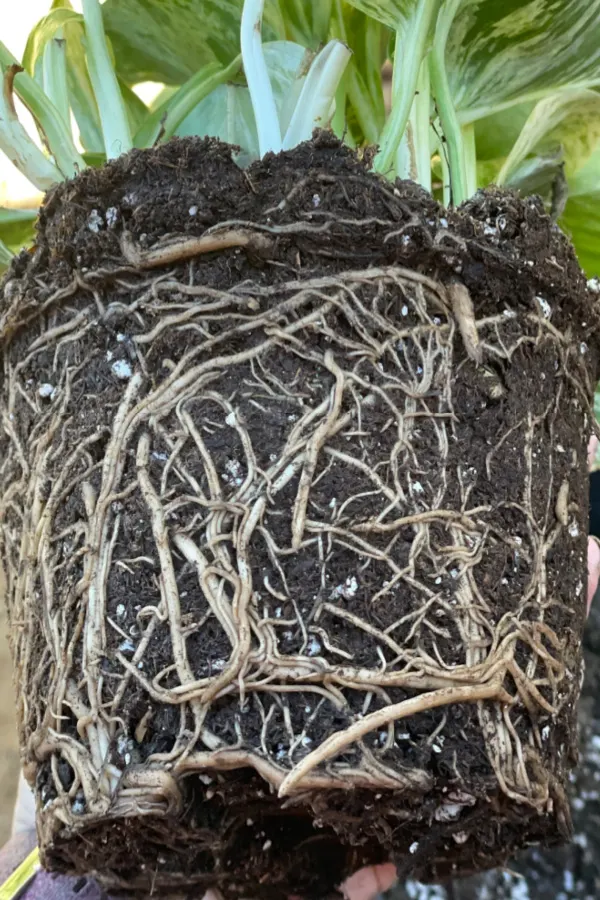
By the season’s end, container soil may be densely woven with roots. However, as these roots naturally decompose, they can rejuvenate the soil.
Considering this, let’s explore two highly effective methods to recycle and repurpose both the soil and foliage in your hanging baskets each autumn. By doing so, you can significantly cut down on your expenses for potting soil every spring!
How To Save & Reuse Old Potting Soil From Hanging Baskets & Containers
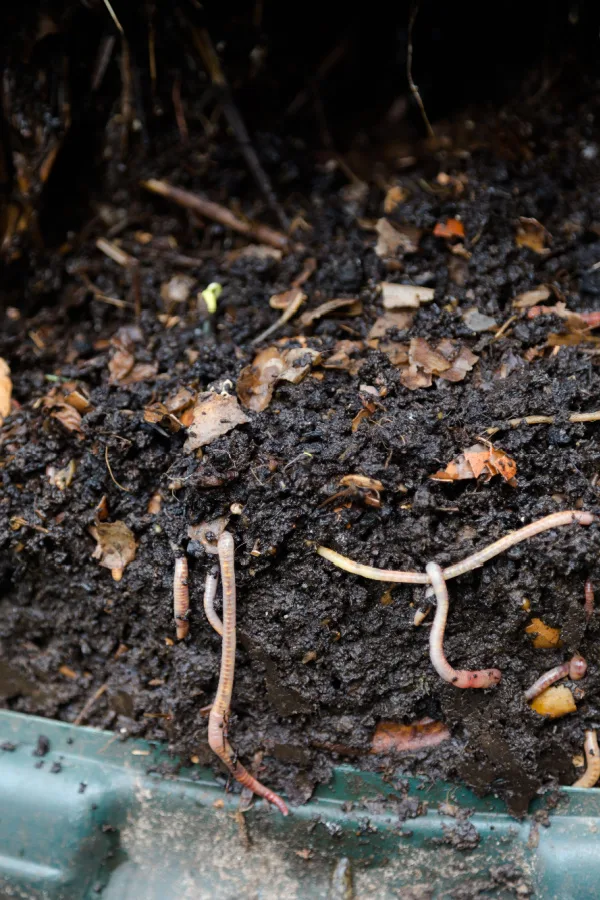
Create A Potting Soil Compost Pile
One of the most straightforward and effective techniques for preserving, revitalizing, and reutilizing old potting soil involves creating your own dedicated potting soil compost pile. This method differs from simply adding the old soil to an existing pile; instead, it entails establishing a new pile exclusively for your aging potting soil.
As outlined below, this approach allows you to incorporate readily decomposable materials into the pile in late autumn, throughout the winter, and into early spring. These materials work to rejuvenate the old soil, infusing it with vitality for the upcoming spring planting season.
For individuals who plant a substantial number of container plants each year, this method is ideal. Not only does it provide a centralized location to clear out all your plants at the close of the growing season, but it also grants you convenient access to well-prepared potting soil next spring.
You can fashion a potting soil compost bin using a large trash can or designate a corner of your garden for this purpose.
How To Create A Potting Soil Compost Pile
You can fashion a soil revitalization station virtually anywhere and from a variety of materials. It could be a garden corner, an old wheelbarrow, a 55-gallon drum, or even a designated compost bin. The crucial aspect is to choose a space that can accommodate all your old soil along with a bit of additional material.
To set up your revitalization pile, start by emptying all the old soil from your pots and baskets. Don’t forget to include the roots within the soil, and make sure to chop them up as you incorporate them. This step is essential for breaking down tough roots swiftly.
Following that, finely chop up all the foliage from the container plants. They possess significant value as they decompose. Once again, aim to cut them into small pieces to expedite the decomposition process.
One of the quickest and most convenient methods is to run a push mower over the foliage. It will reduce the foliage to a fraction of its original size in a matter of seconds. If you have a bagging attachment, you can easily deposit it directly into your pile!
Recharging The Soil
Now it’s time to introduce additional composting materials that will swiftly decompose and revitalize the soil. This should include finely shredded green grass clippings, chopped leaves, coffee grounds, and vegetable peels. The key is to use materials that are finely shredded and small, as these break down rapidly.
Incorporate these materials as frequently as possible until late autumn. As for the quantity, a good rule of thumb is to aim for roughly doubling the size of the soil mass. Remember to mix as you add to promote heating and hasten the breakdown of new materials.
Concluding this process in late fall allows ample time for the new materials to fully decompose and rejuvenate the soil. Throughout the winter, you can continue to add coffee grounds to your potting soil pile. Not only are they rich in nutrients, but they also don’t require additional time to break down.
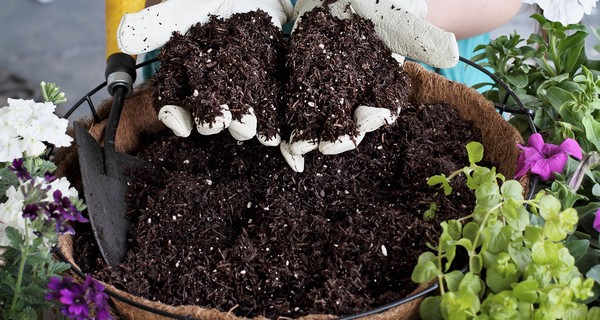
When spring arrives, for the final stage of revitalizing your soil, blend in a bit of fresh potting soil and worm castings into the soil mixture. This will further boost soil fertility, ensuring your plants thrive like never before. Affiliate Product Link: Pure Worm Castings

Coffee grounds are excellent for revitalizing aging potting soil. They’re rich in trace nutrients and nitrogen, blending seamlessly with the old soil.
When it comes to quantities, a handy guideline is to incorporate 1 cup of worm castings and 3 cups of fresh potting soil for every 15 to 20 cups of aged potting soil. With this simple mix, you’re all set to cultivate with rejuvenated, thriving soil. Plus, it comes at a fraction of the expense!
